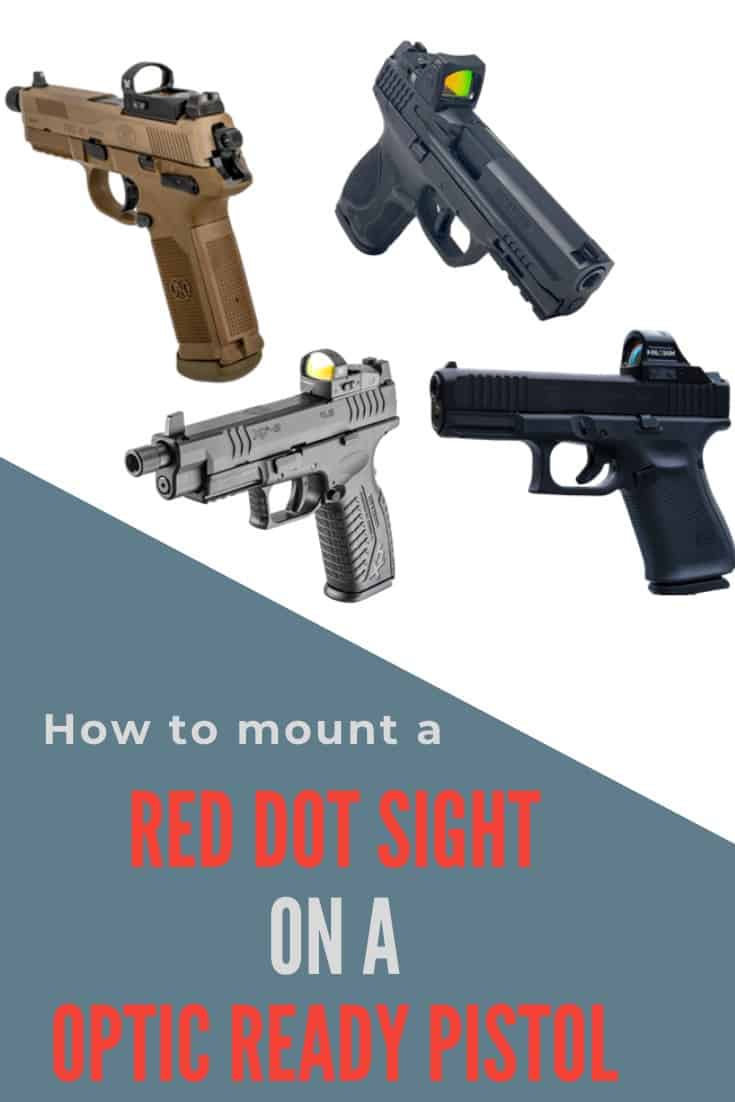
In this tutorial, you will learn how easy it is to mount a red dot sight on a pistol. We will cover all the steps, tools, and accessories necessary to properly mount a Micro Red Dot Sight (MRDS) on an optics-ready pistol.
There are several reasons why you might want to mount a red dot reflex style optic on your handgun.
The biggest advantage is that it eliminates the need to align the front sight post with the rear sight aperture.
Eliminating the traditional sight alignment process associated with iron sights can significantly increase target acquisition speed and accuracy.

As red dot sight continues to increase in popularity, pistol manufacturers have begun offering optics-ready pistol options.
These optics-ready options include pistol slides with a factory milled slide ready for the mounting of your favorite red dot reflex sight.
Still looking for the perfect red dot sight to mount on your handgun, then check out our review of the Top 5 Pistol Red Dot Sights.
7 Most Popular Optics Ready Pistols
Of course, you do not need an optics-ready pistol just to mount a red dot sight.
If you have a standard pistol, you may need to purchase a special mount that would require removing the rear iron sight or adding a rail of some sort to the pistol frame.
You can always get your current pistol slide custom milled to receive your favorite red dot sight.
We will cover these other methods another time.
Mounting a Red Dot Sight on an Optics Ready Pistol
In the rest of this tutorial, we will cover the installation of a red dot sight on an optic- ready pistol. This tutorial will cover the basic steps of a sight installation.
Some optic installations may require additional steps, so refer to your manufacture for all the specifications and details.
Here are the items you will need to complete the Red Dot Sight installation:
Ensure your pistol is cleared and safe.
Steps to Mounting a Red Dot Sight on a Pistol
1. Remove the Factory Plate
To start first, remove the factory plate of your pistol slide. Depending on your handgun model, this will require you to remove hex or Torx type screws from either the top of the slide or from underneath the slide.
If the factory plate screws are underneath the slide then you will have to disassemble your pistol and remove the slide from the handgun frame.
As you can see in the image below, the factory plate mounting screws are on top with this G19 Gen5 MOS GLOCK.
2. Select the Proper Mounting Plate
After the factory plate has been removed, you will need the correct mounting plate that matches the footprint of your red dot sight and corresponds to your pistol manufacturer and model.
These plates are often available from the pistol or sight manufacture and other third-party sellers.
3. Fasten Mounting Plate to Pistol
Place your corresponding mount into the factory milled pistol slide slot.
Place a small amount of thread sealant such as blue Loctite on each of the plate mounting screws. Be sure to use a thread sealant that will allow for easy removal of the screws in the future.
Utilizing a torque driver, screw the mounting screws through the mounting plate onto the pistol slide. Drive each screw until they are both snug then finish each screw with 12-15 inch-pounds of torque.
For consistency alternate between each screw torquing each one then the other repeating twice. We recommend 12-15 inch-pounds but be sure to check your sight and pistol manufacturer’s specifications.
4. Replace Red Dot Sight Battery
Now that you have the mounting plate securely in place on the pistol slide, it is time to prepare your red dot sight.
Some red dot sights such as the Holosun 507C have the battery well underneath the sight.
For this reason, we suggest you place a new battery into the red dot sight and test its operation before mounting.
Even if your battery well is on the side or on top now is a good time to place a new battery into your optic.
5. Special Requirements
This next step may or may not be necessary depending on your red dot sight.
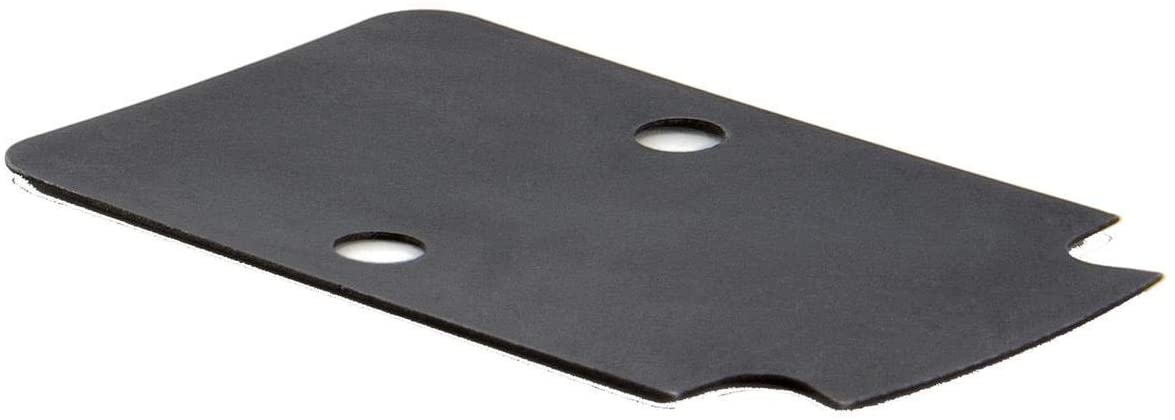
We recommend that you refer to your owner’s manual and check with the manufacturer to see if your particular model of optic needs any special mounting requirements such as an additional plate for waterproofing needed for the Trijicon RMR.

Range Time
Your red dot sight is now securely fastened to your optics ready pistol. By following these procedures, you should not encounter any problems with the optic coming loose during operation.
You should, however, check the mounting screws from time to time during normal routine maintenance
Now you are ready to roll with a newly mounted optic on your favorite pistol.
If you have never used a red dot sight before then we suggest a trip to the range for some time on target.
With just a few hours practice you will be on your way to faster target acquisition and increased accuracy.
For all your red dot, reflex and holographic sight information go to reddotsightreviews.com